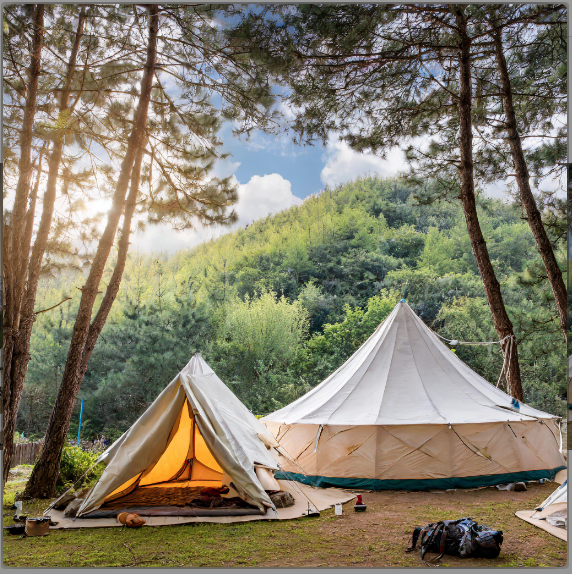
The excitement of a backpacking trip can quickly turn into frustration if your carefully planned meals end up in a chaotic mess inside your backpack. The interior of a backpack is a challenging environment for food, and inadequate packaging can lead to a disaster similar to a bursting suitcase on an airport carousel. In this article, we’ll explore the importance of securing your pack provisions and provide comprehensive tips on equipment and packing techniques to ensure your backpacking food reaches its destination intact.
Hikers’ Backpacking Mishap:
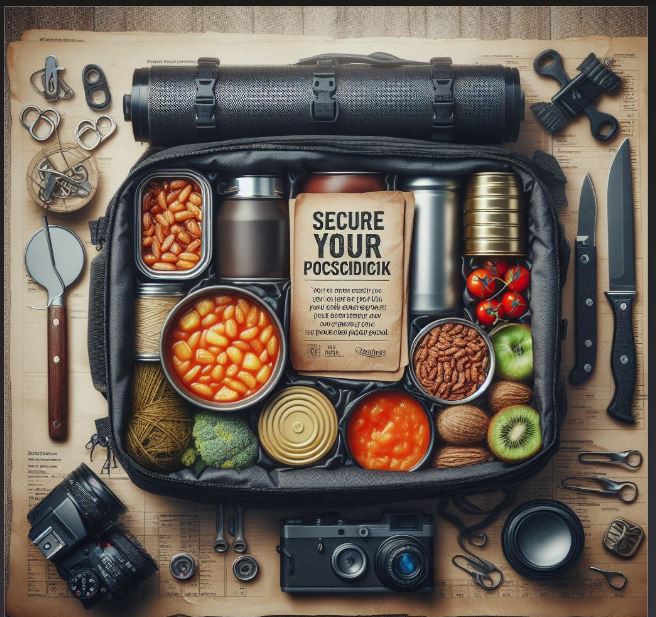
To illustrate the significance of proper food packaging, let’s revisit a common scenario where hikers find themselves in a backpacking mishap. In an attempt to save money, they stored their edible supplies in thin plastic bags sealed with twist ties, creating a ticking time bomb of a food packaging disaster. When it came time to prepare their first meal, the scene was chaotic, with powdered milk, pancake mix, sugar, crushed crackers, and peanut butter creating a messy ensemble. The hikers’ saving grace was placing their food bags into a nylon duffel before packing them into their backpacks, avoiding a potential backcountry crisis.
Equipment:
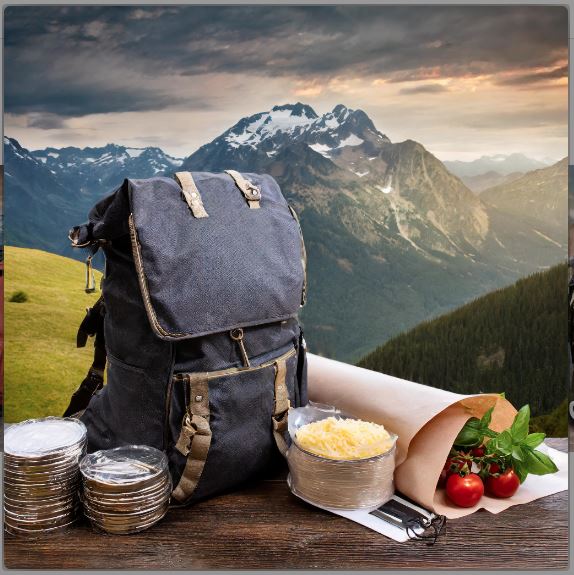
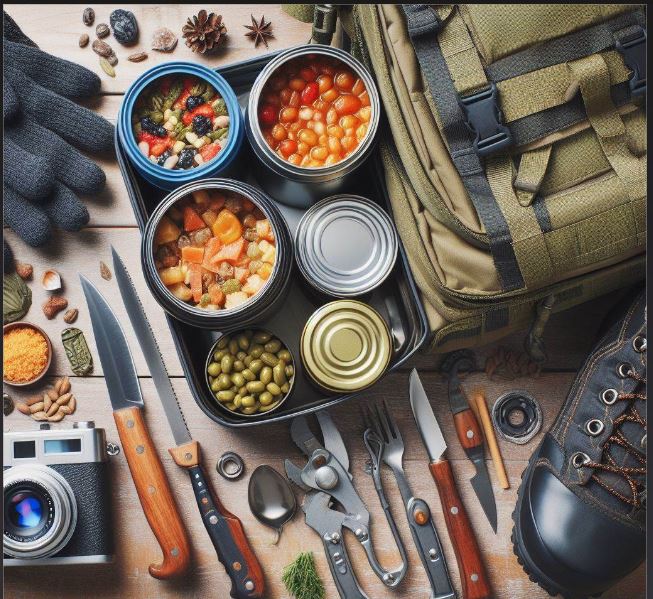
- Zipper-lock bags: Sturdy bags with a write-on strip for labeling in various sizes, with a preference for heavier-duty freezer weight styles.
- Vacuum sealer: An alternative to zipper-lock bags, excellent for sealing homemade energy bars, small amounts of liquids, and entire meals for extended hikes.
- Lexan bottles: Odor-resistant bottles suitable for strong-flavored liquids like olive oil or vinegar, with measurements on the side.
- Old prescription vials: Ideal for packing small quantities of gooey substances like mustards.
- Food tubes: Refillable containers for warm weather; wide-mouth, screw-top plastic bottles for cold conditions.
- Cracker protector: Sturdy canisters like empty Pringles cans to prevent crackers from turning into crumbs.
- Cheese chunker: Wax-wrapped blocks or individually wrapped string cheese for extended trips.
- Pillow packs: Single-serving condiment containers for easy packing.
Packing Techniques:
- Excess packaging: Remove unnecessary packaging from supermarket-bought foods or buy in bulk to minimize bulk and weight.
- Twist and tie: Use zipper-lock bags to separate ingredients going into the same pot at different times.
- Write directions: Label cooking directions on the bag’s write-on strip or include a slip of paper in each meal bag.
- Make meal bags: Pack each meal into its own zipper-lock bag, preplanning, measuring, and packing complete meals at home.
- Food duffel: Use a lightweight nylon duffel to protect meals from cuts and punctures inside the backpack and keep them separate from other belongings.
- Loading into your pack: Pack food at shoulder blade level or higher for maintained trails or slightly lower for off-trail excursions. Position cheeses and perishables deep in the pack to stay cool, and use bear canisters strategically for balance and cooling.
Conclusion:
Securing your pack provisions is a crucial aspect of successful backpacking trips. Proper equipment and packing techniques can prevent food disasters, ensuring that your meals remain intact and enjoyable throughout your journey. By investing time and attention into food packaging, you’ll be better prepared to savor the outdoor experience without the worry of a backpacking mishap.